Most face swaps fail in ways you can see straight away. The new face looks pasted on. It drifts a fraction behind the head. Or the original face flashes back for a single frame while the person turns, and the effect collapses.
What most tutorials leave out is that the result is mostly decided before you press generate. A swap needs two files — a clip and a face photo — and if either one is wrong for the job, the model has nothing to work with. This is the process we use.
What you need
Two files:
- A video. MP4 only. Our workspace accepts up to 200MB and 10 minutes per clip, and the face needs to be on screen for most of it.
- A face photo. JPEG or PNG. This is the face that goes into the video.
That's everything. Nothing to install, no timeline to work in, no keyframes to set.
Step 1: Pick a clip the tracker can follow
The engine finds the largest face in each frame and swaps that one. That single sentence explains most failures:
- Keep it to one person. In a two-person shot, "the largest face" can change from frame to frame, so the swap jumps between people. Clips with a single subject are safer.
- Keep the face visible. A turned-away profile, a hand over the mouth, hair across the eyes — every frame where the face is covered is a frame the tracker has to guess at.
- Watch the lighting. A dim, grainy clip gives the model less to work with. Daylight or a lit room is easier.
- Bigger faces come out better. A face that fills a good part of the frame holds detail. A small face in a wide shot ends up soft.
Fast movement is fine — dancing clips swap surprisingly well — as long as the face stays visible and well lit.
Step 2: Pick a face photo the model can read
The face photo is what carries the identity, so it pays to give it clean data:
- Sharp and facing the camera. A plain, well-lit headshot works better than a beautiful three-quarter portrait.
- Nothing covering the face. Glasses, hats, heavy bangs and microphones in front of the mouth all get read as part of the face.
- Match the angle and the light. A photo lit from the left going into a clip lit from the right looks slightly off, however good the tracking is.
- A neutral expression is fine. A passport-style face works even on a laughing clip, but the closer the photo's mood is to the footage, the cleaner the blend.
Step 3: Run the swap
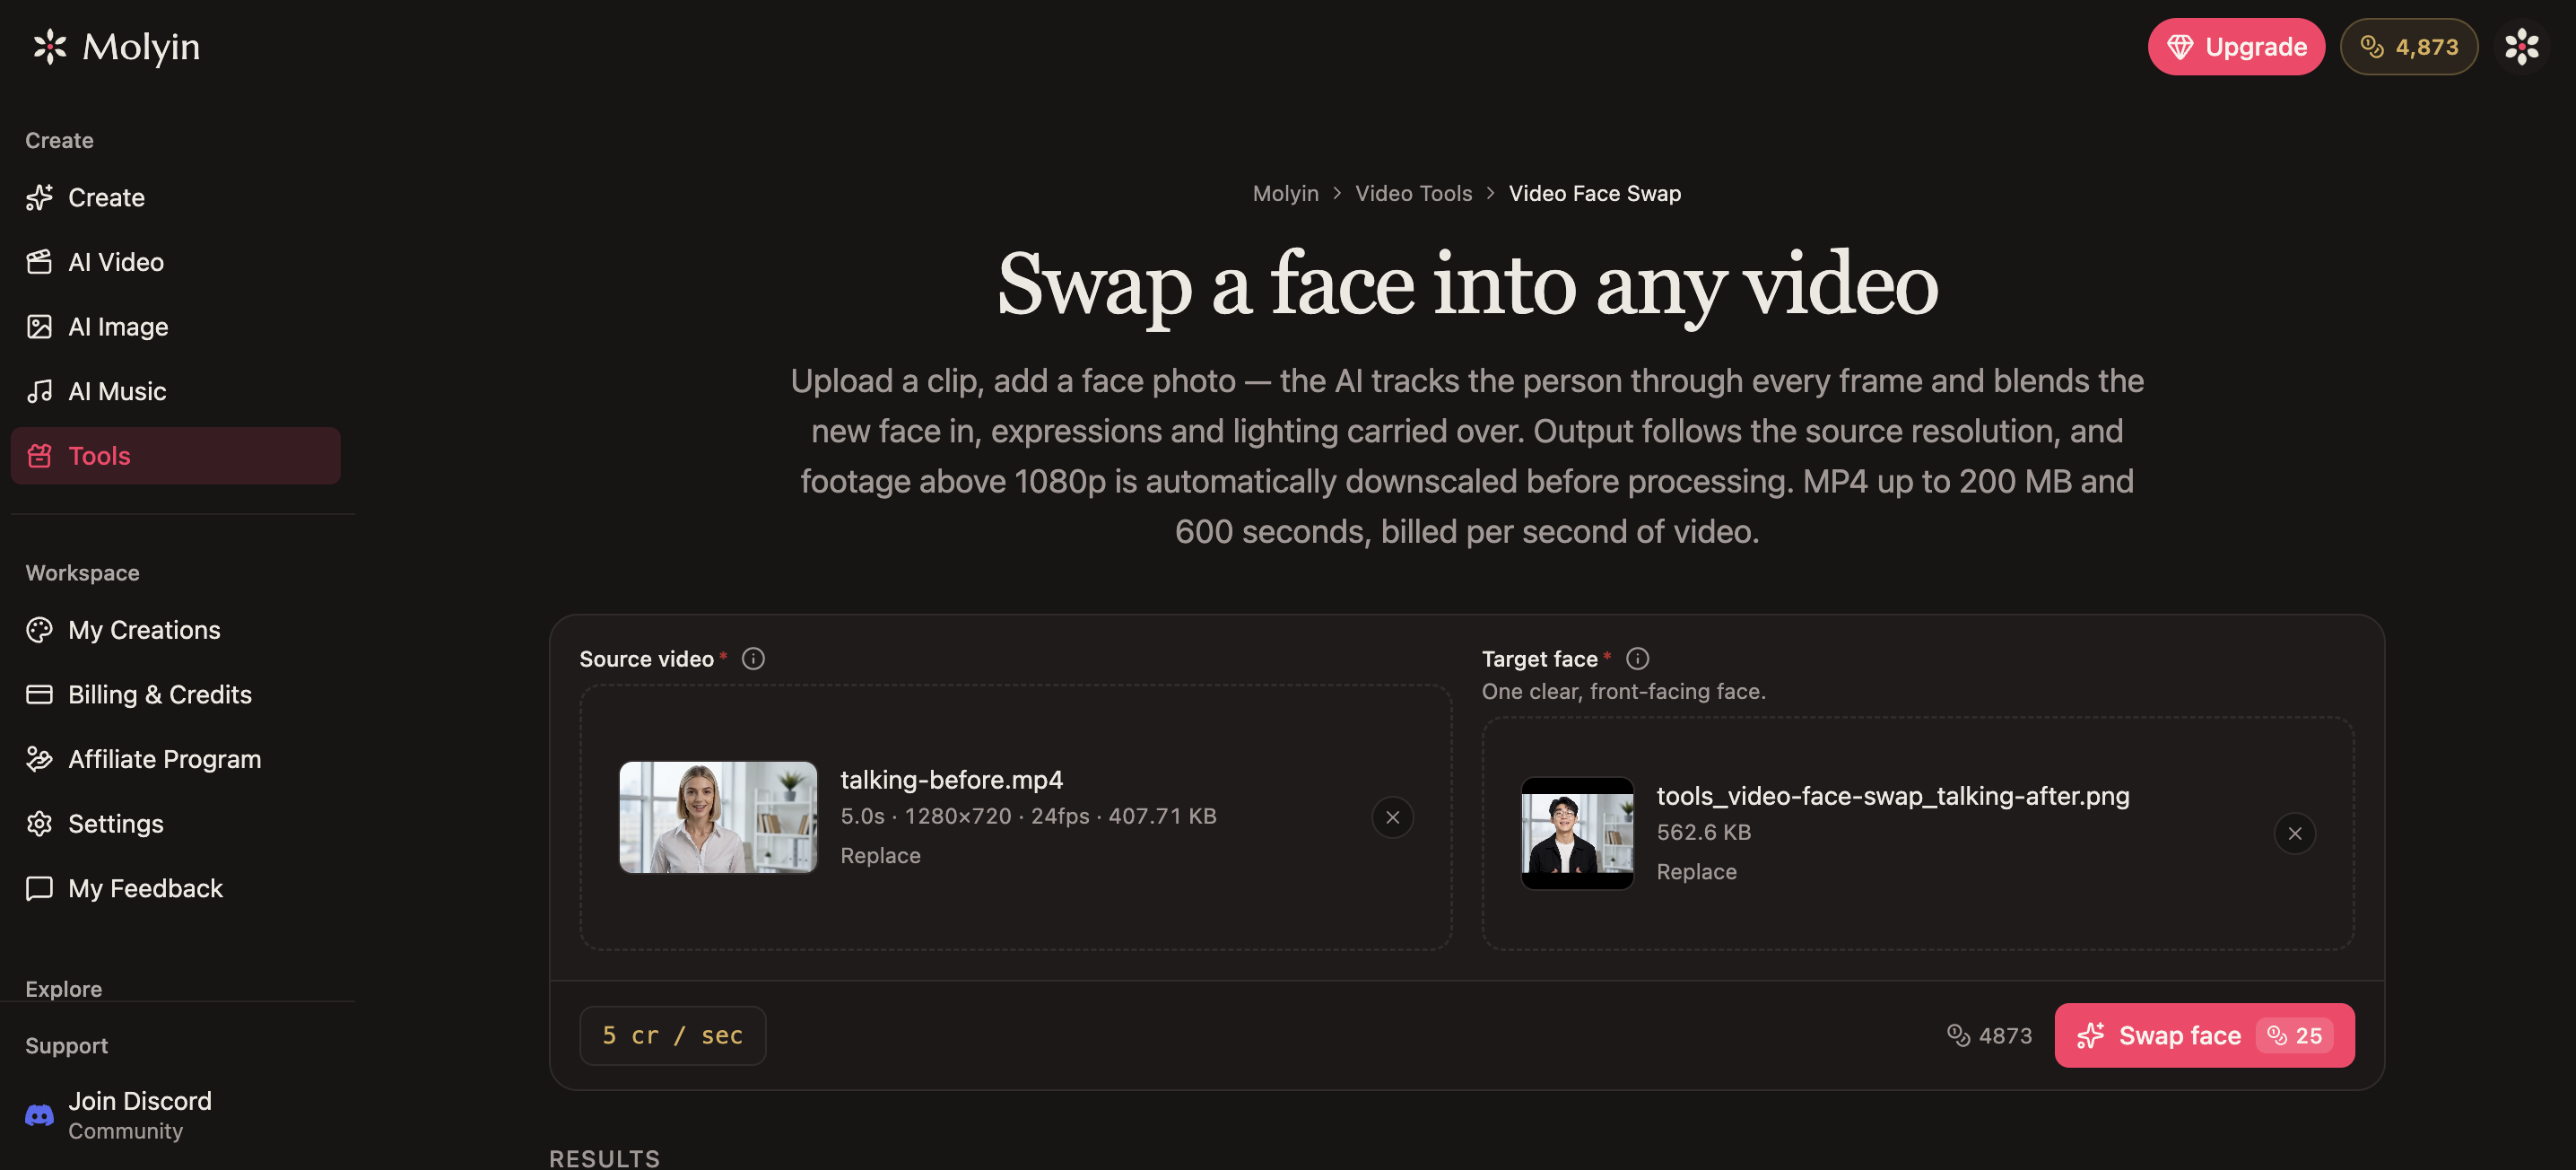
On Molyin it's two uploads and a click. Open Video Face Swap, add the video, add the face photo and generate. You pay by the second of footage — 5 credits a second, so a 10-second clip costs 50 credits — and the MP4 you get back keeps your video's resolution, up to 1080p.
Step 4: Check the whole clip before you use it
Don't judge the result from the first few seconds. Go to the hardest moments — a head turn, a laugh, a change in lighting — and look for two things:
- Drift — the new face lagging behind the head.
- Flash-backs — single frames where the original face comes back, usually where the face is most covered.
Both have the same fix: trim the clip down to the part where the swap holds.
A note on consent
Use faces you have the right to use — your own, your team's, or someone who agreed to it. Putting a real person's face into footage without permission is more than bad manners; in most places it's a legal problem.
Where to go next
- Result a bit soft or low-resolution? Run it through the Video Upscaler for a sharper export.
- Need the new face to talk? Lip Sync matches the mouth to your audio track.
- Want the background on how the tracking works? What is face swap explains it.
- No footage to swap into? Generate a base clip with the AI video generator first, then swap your face into it.
Try it on your own clip
The whole workflow takes about ten minutes: one clip, one photo, one generate. Open Video Face Swap and try it on the clip you had in mind while reading. By your second or third swap, you'll be picking inputs the way we do.